Hello future podcaster!
Welcome to part 2 of our 3-part “So You Want To Be A Podcaster” series.
In part one I showed you what equipment you need to start your own podcast.
Before you read part 2, be sure to read part 1.
Now that you have purchased your mic, your audio interface, and any other necessary equipment you are ready to record your podcast.
The great news is that you can record your podcast using free software.
Total cost of recording your podcast: $0
What will you need to record your podcast?
- You will need your microphone and audio interface setup (or a USB mic only) as discussed in part 1.
- You will need a computer.
- You will need some recording software.
For your recording software, I recommend you use a free program called Audacity.
Audacity is a free product and you can download it right here…
Is Audacity perfect? No.
Is it free and “good enough”? Yes.
What about GarageBand?
Many podcasters do use GarageBand to record their podcast.
(If you use Apple computer products then GarageBand should already be on your computer or it will be available as a free download from the Mac app store.)
I personally use both GarageBand and Audacity to record the Bold and Determined Podcast.
However, I have found that GarageBand can be more complicated than necessary, and I find that Audacity is much easier to edit your podcast.
I recommend that new podcasters keep it simple and use Audacity to record, edit, and compress their podcast.
In this article I will show you these 3 things:
- How to record your podcast in Audacity
- How to edit and compress your podcast in Audacity
- How to save your podcast track as an MP3 which can be uploaded to the internet
Let's get started…
NOTE #1: This article will focus on using Audacity to record your podcast. If you would like to record your podcast in GarageBand I would suggest you watch this video tutorial.
NOTE #2: If you prefer video to pictures and words, here is a great video tutorial for recording your podcast in Audacity.
How To Record Your Podcast In Audacity
Step 1 - Download and open Audacity
Step 2 - Plug in your USB mic to your computer OR plug in your mic to your audio interface and plug in your audio interface directly to your computer.
Step 3 - Turn your audio interface on.
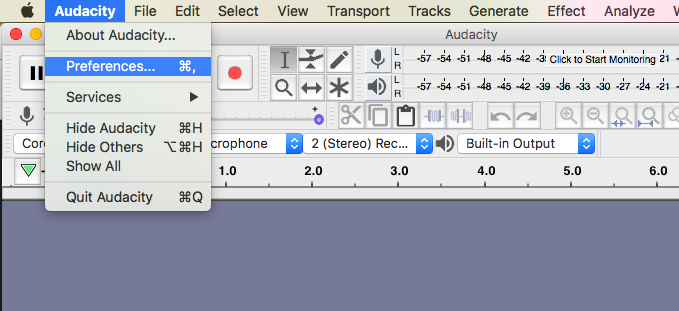
Step 4 - Ensure your audio interface is noticed by Audacity
- Follow these menu steps: Audacity -> Preferences -> Devices
In the DEVICES menu change your PLAYBACK and RECORDING DEVICE settings to the name of your audio interface (I use the Apollo Twin device).
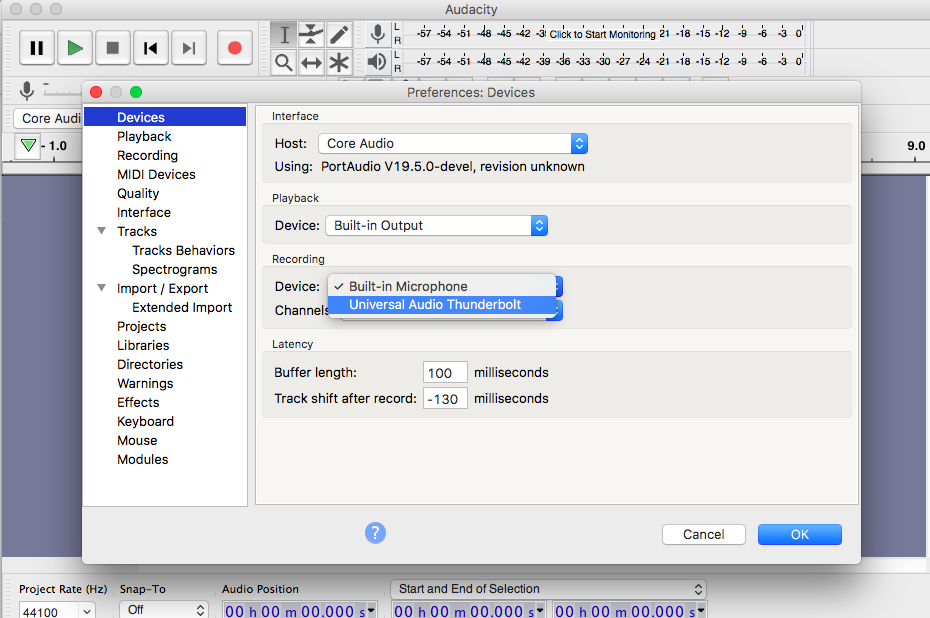
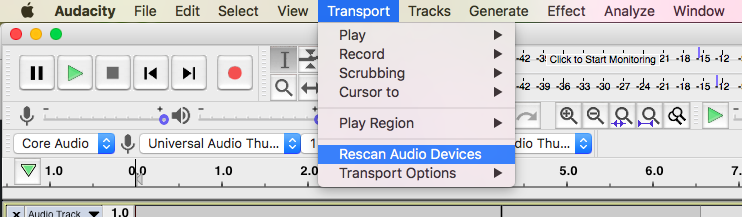
NOTE: If your device is not showing up in this list, do this: Choose Transport -> Rescan Audio Devices
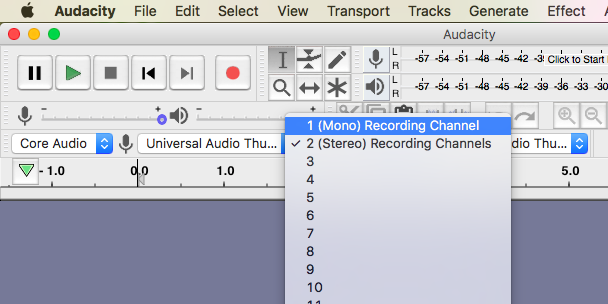
NOTE: I personally change to a MONO recording channel.
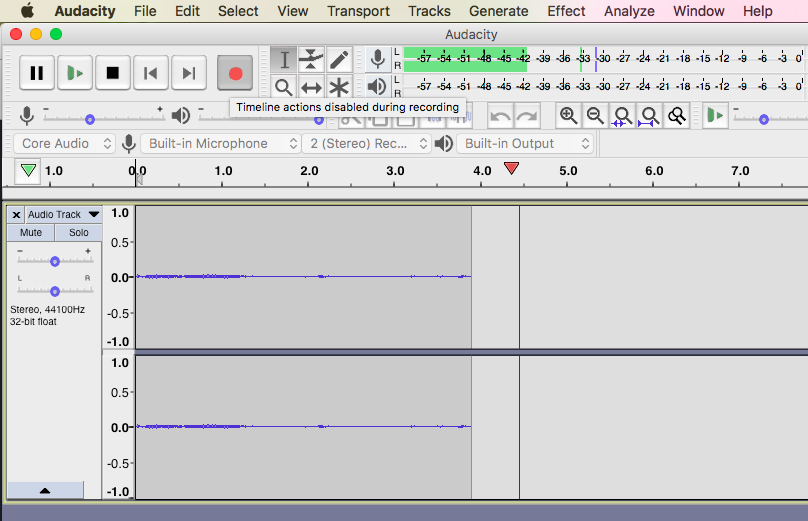
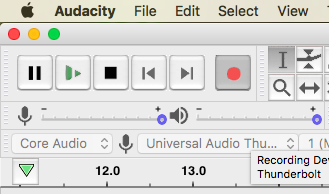
Step 5 - Hit the RECORD button, talk into your microphone and record a quick 20 second sound snippet to ensure your audio interface is working accurately.
- Record = Red Circle
Step 6 - When you are finished recording your sound test hit the STOP button.
- Stop = Black Square
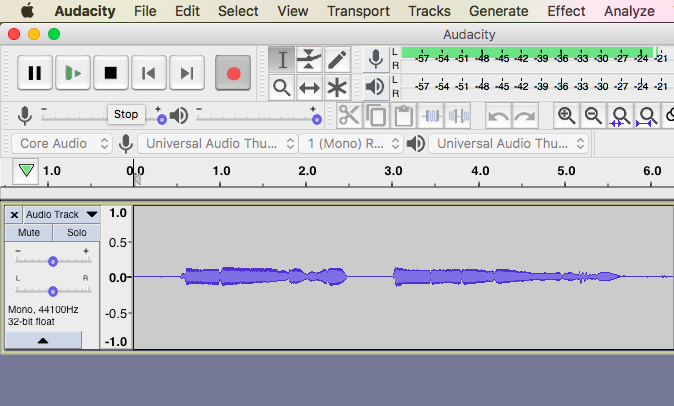
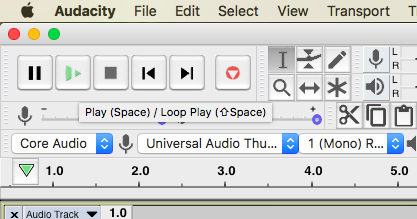
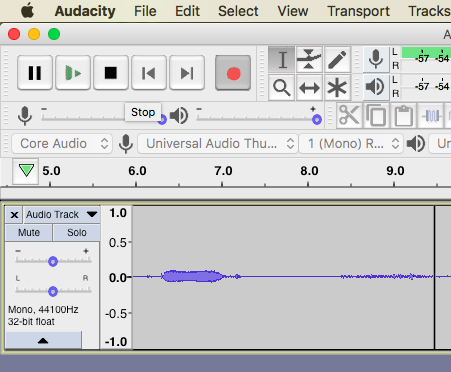
Step 7 - Play back the audio to ensure your audio was recorded.
- Play = Green Triangle
Step 8 - When you have assured your audio is recording and the sound level is fine, hit the RECORD button again and record your podcast.
- Record = Red Circle
Step 9 - When you are finished recording, hit the STOP button.
- Stop = Black Square
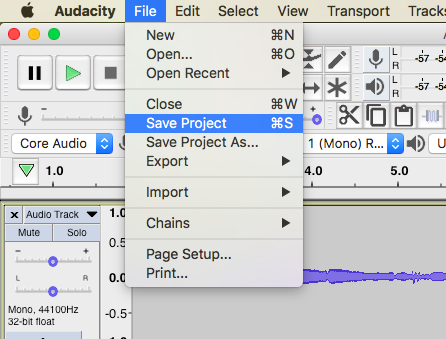
Step 10 - Save your work
- File -> Save Project
Congratulations! You have now recorded your very first podcast.
But before you get too excited, there are a few more steps involved.
You have recorded only your raw audio, but there are a few more steps involved to create high quality audio.
The next step is to edit your podcast to remove any unnecessary noises or long pauses.
How To Edit Your Podcast In Audacity
After your record your audio there is more to do to make it sound stellar.
You want to edit your audio to remove any unnecessary noise such as pops, coughs, ums and uhs, and you want to remove long pauses.
This can all be done easily in Audacity because your audio recording is shown to you as a visual wave form.
You can easily delete any piece of audio you wish to delete.
Here's a great video that shows your how to edit your audio in Audacity.
Watch this video to learn how to remove any unnecessary noise and clutter from your podcast audio.
Audacity editing tip: If you make any mistakes in the editing process, hit the UNDO button (the backwards arrow) and whatever mistake you made will vanish.
After you have edited your audio, you will want to reduce the background noise. Isn't that the same thing as editing? No, not quite.
Watch the video below because it will explain exactly why you need to use Audacity's “noise reduction” effect.
How To Remove Background Noise In Audacity
Congratulations!
You have now edited your podcast and removed any unnecessary noise, ums or uhs, and long pauses.
There is one more step involved to get your podcast audio to really stand out.
The last step is compressing your audio…
How to Compress Your Podcast Audio in Audacity
Audio compression is done to make your podcast audio an even volume.
You may get quiet at certain parts of your podcast and you may get loud at other parts in your podcast.
If you don't compress your audio and make the audio “even” you run the risk of blowing out the eardrums of any listener on headphones when your audio gets too loud.
Compression will take care of the problem of blown-out eardrums.
Watch the video below to learn how to compress your podcast audio in Audacity.
Now you have a finished piece of podcast audio that is ready to be saved and uploaded to the internet.
Let's quickly learn how to save your audio in a format that is easily uploaded to the internet.
How To Save Your Podcast Track As An MP3
After you have recorded and edited your podcast your are ready to save your final track.
It is this final track that you will upload to the internet.
Saving your audio as an MP3 file is as easy as this…
- File -> Export -> Export as MP3
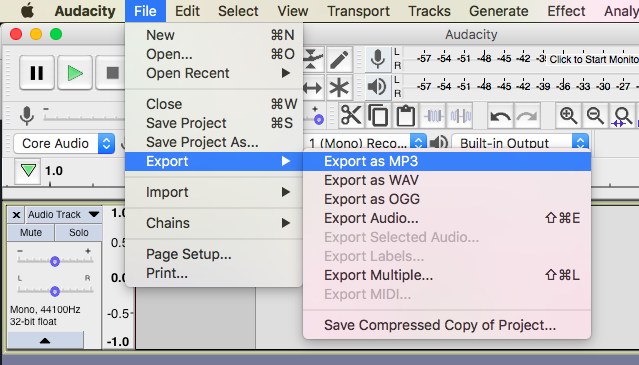
You now have an audio file that is ready to be uploaded to the internet.
There is so much more to learn but for now I encourage you to start recording your podcasts and learn as you go.
The more research you do before you start, the farther you get from having your own podcast.
In this article you have al of the knowledge you need to start recording your very own podcast.
Here's my pro tip…
Start now, learn as you go!
Stay tuned for part 3 where I will show you how to upload your podcast track to iTunes, Soundcloud, YouTube and more!
If you're anxious to get started, I recommend Soundcloud.
It's very easy to get started on Soundcloud…
- Sign up for an account -> Click the upload button -> Upload your MP3 to Soundcloud
That's it!
Until next time.
Your man,
-Victor Pride
PS - If you missed part 1 where I detail what equipment you need to record your podcast, you can check it out here: How To Start Your Own Podcast Part 1: Best Podcast Equipment
Fuck yeah Victor, killing it with the new articles lately. This could not have come at a better time. I just quit my job a week ago and this is one of the things I want to do. You the fucking man! Whenever I feel lost or about to give up, Uncle Vic is always there at his home of Bold and Determined. Till next time brother.